Overview #
Load balancing is essential for distributing incoming network traffic across multiple backend servers to ensure high availability, reliability, and performance. In Cloud7, the Load Balancers module consists of three key components:
- Load Balancers – The main entry point that distributes traffic.
- Listeners – Define how traffic is received on the load balancer.
- Pools – A group of backend servers that handle the requests.
A Load Balancer distributes incoming network traffic across multiple backend servers, preventing overload on a single server and ensuring high availability.
List Load Balancers #
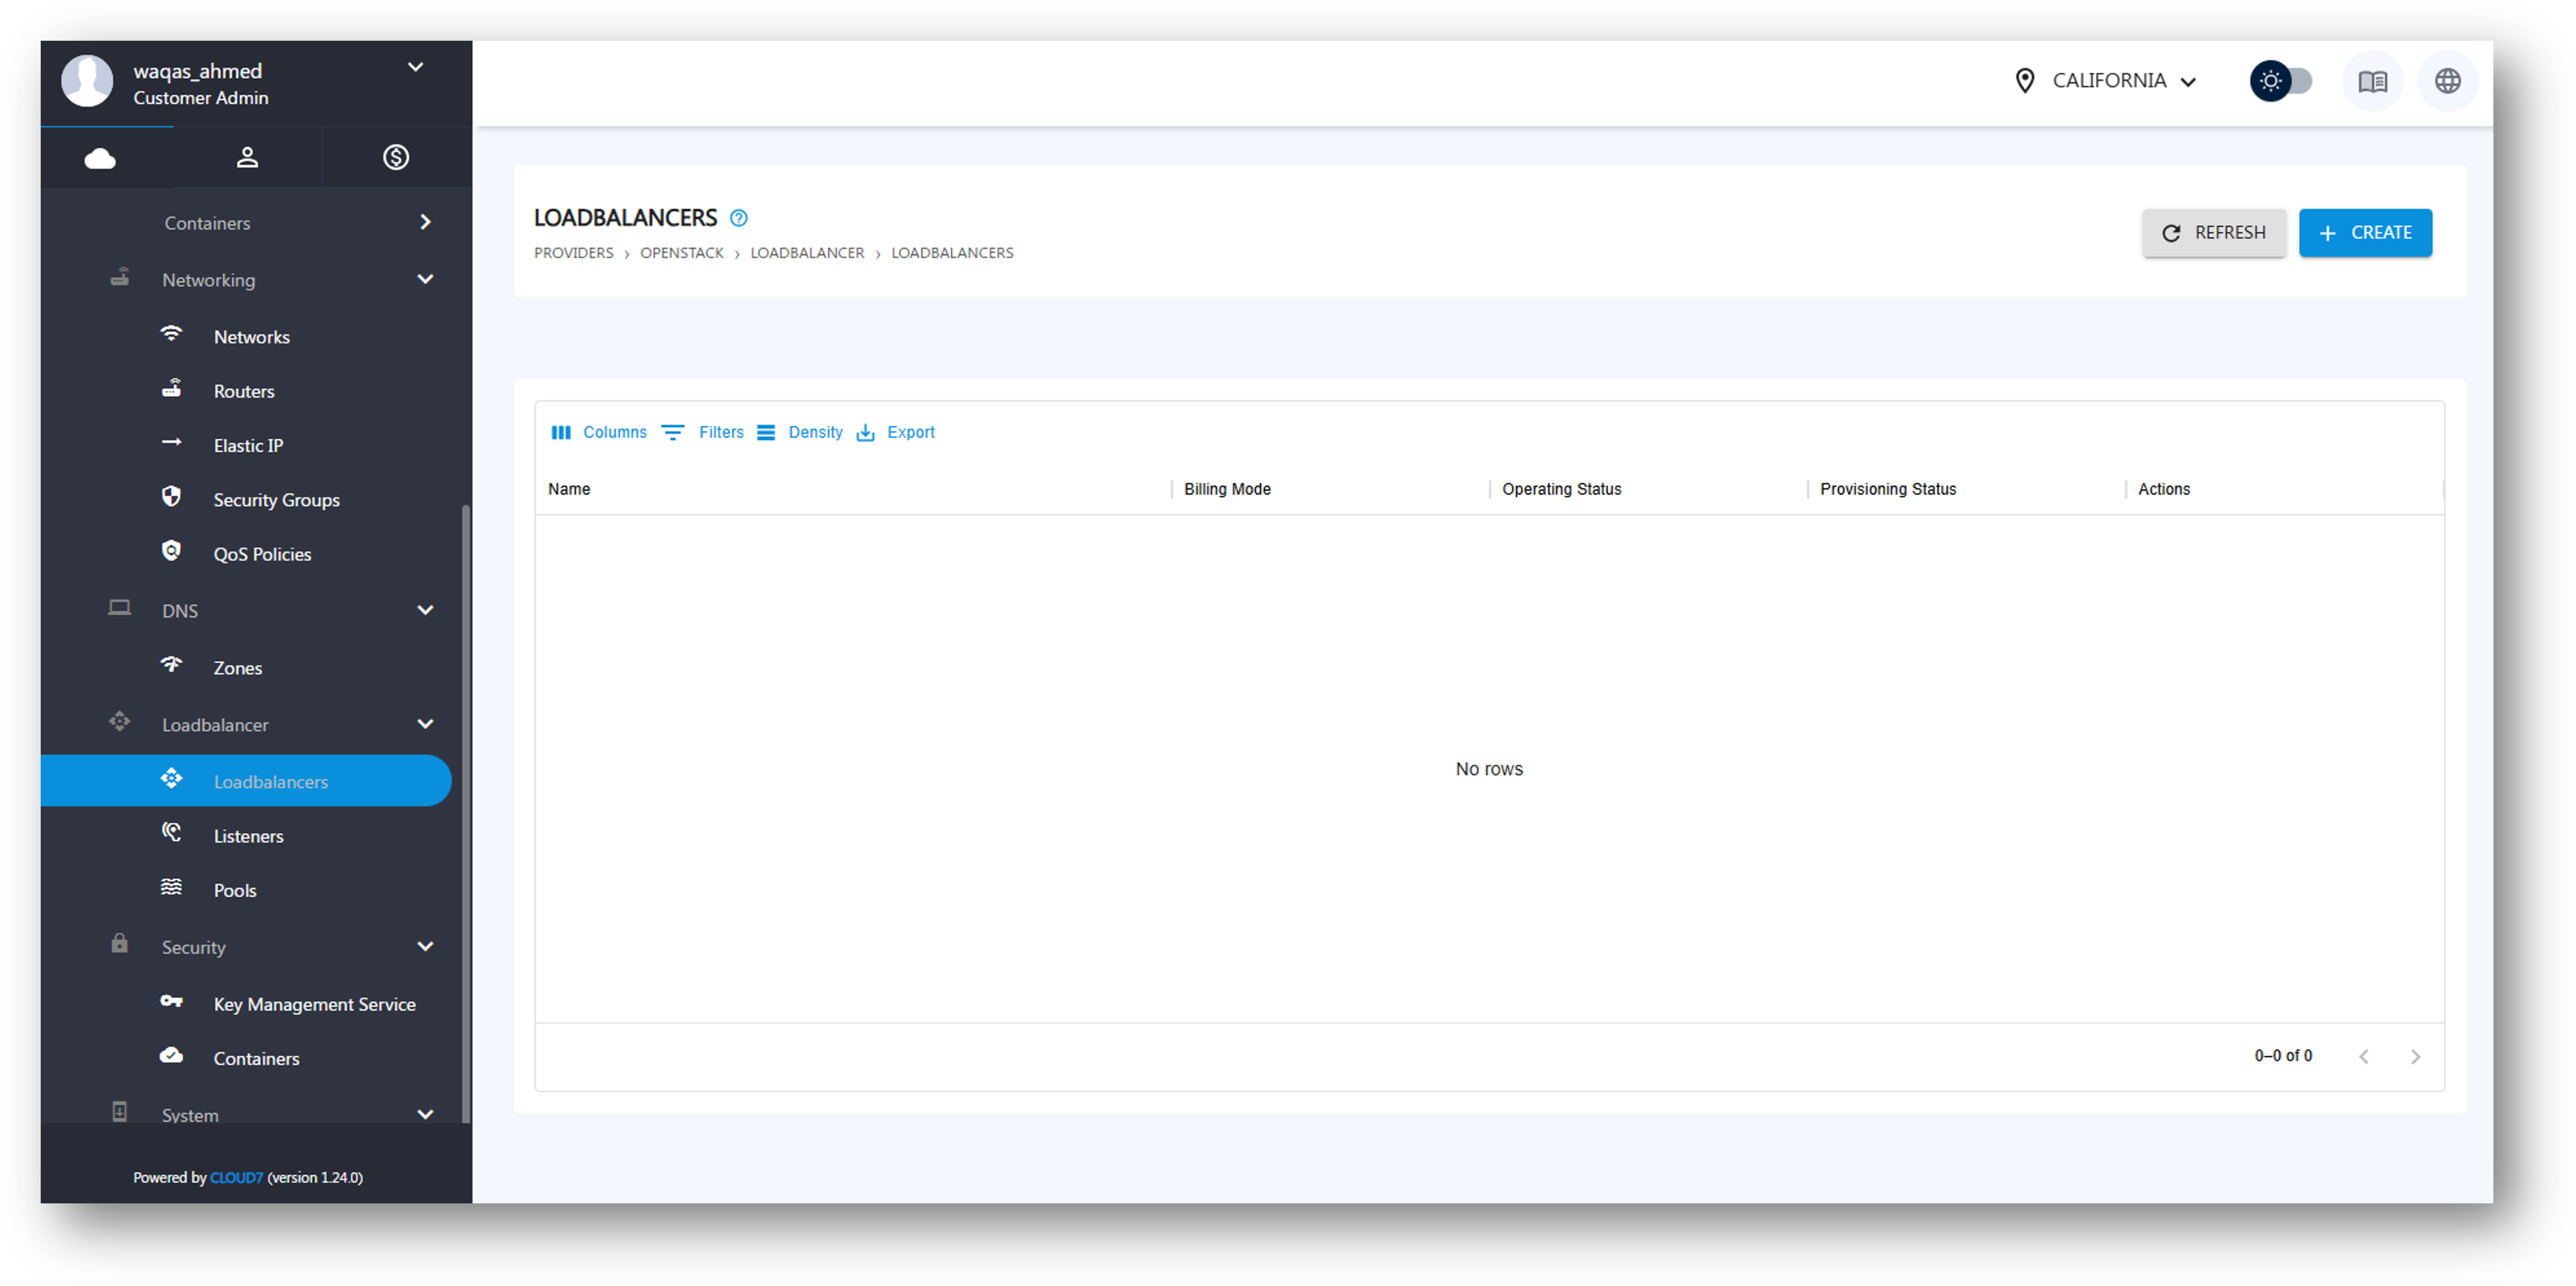
The Load Balancers listing page displays the following details:
- Login to Cloud7.
- Navigate to Providers >> <Provider Name> >> Networking >> Load Balancers. All the existing load balancers will list on this page with following attributes:
- Name – Identifies the load balancer.
- Billing Mode – Specifies the billing type.
- Operation Status – Shows the current operational state.
- Provisioning Status – Displays the provisioning status.
- Actions – Options to manage or delete the load balancer.
Create Load Balancer #
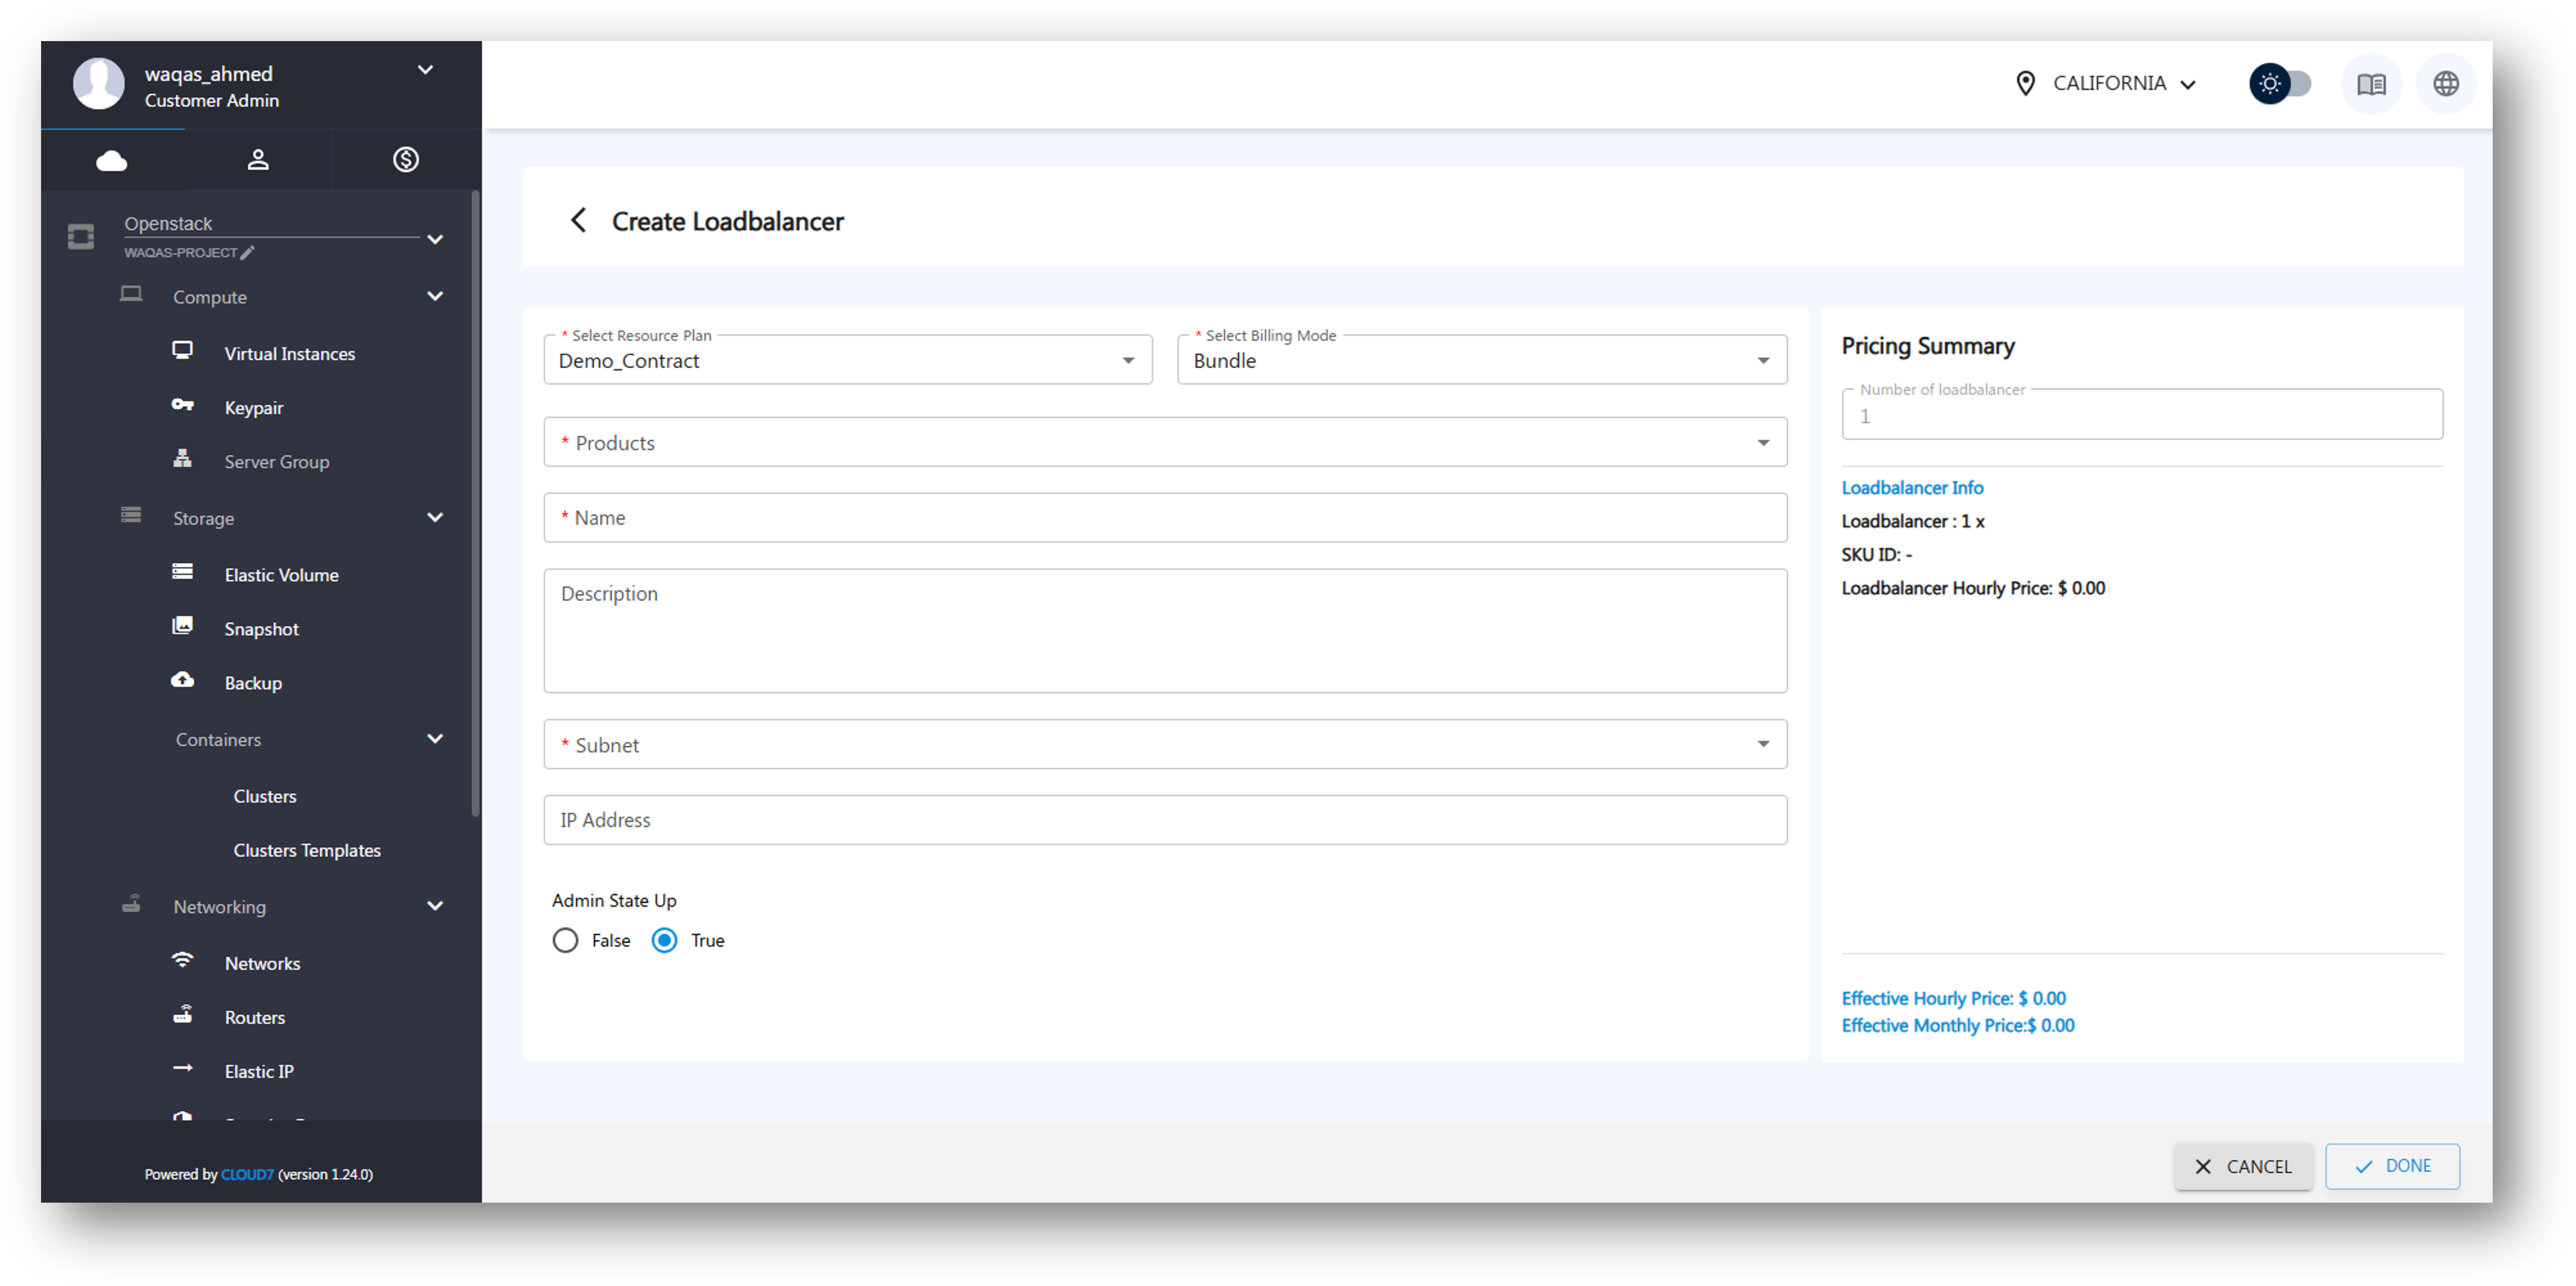
To create a new Load Balancer:
- Click the Create Load Balancer button.
- Fill in the required fields:
- Select Resource Plan – Choose a resource plan.
- Select Billing Mode – Defines the pricing model.
- Products – Lists the available product options.
- Name – Assign a name to the Load Balancer.
- Description – Provide an optional description.
- Subnet – Select the network subnet.
- IP Address – Define a specific IP address (optional).
- Admin State Up – Toggle between True (Active) and False (Inactive).
- Click Create to provision the Load Balancer.